As you know, beekeeping is not cheap. If you haven’t already, check out our article on how expensive beekeeping can be. Once you’ve committed to the hobby and started buying equipment, the costs add up quickly, hive boxes, frames, feeders, lids, bottom boards, and more. Now that you’ve made this investment, you need a plan to protect it. In today’s discussion, we’re going to talk about how to protect your woodware, what you should and shouldn’t do when it comes to hive preservation, and an alternative for those of you who prefer a more natural approach.
Treated Lumber: Where It Belongs (and Where It Doesn’t)
Let’s start with the basics. Treated lumber is designed to withstand outdoor exposure, moisture, and insect pressure. It’s great for decks, fences, and landscape timber. But the reason it performs so well outside is because it’s infused with chemicals, and that’s a deal breaker around your bees.
You should never use pressure-treated wood for hive boxes, bottom boards, lids, or anything else that bees will come into direct contact with. Those chemicals can leach into comb, honey, and wax, and even low levels of exposure could have negative effects on brood health. However, treated lumber does have a place in the bee yard. It’s perfectly fine for hive stands, especially the legs or cross rails that rest on cinder blocks or sit in wet soil. Just make sure there’s a barrier between any treated wood and your bees or their equipment.
Why Natural Wood Still Needs Protection
Once you rule out treated lumber, your only option is natural, untreated wood, and that’s fine, but it needs help to survive outdoors. Your hive bodies, bottom boards, and telescoping lids will be exposed to rain, wind, humidity, and UV light year-round. Without protection, they’ll swell, warp, crack, and rot. That’s not just an aesthetic issue , it creates gaps that let in pests and moisture, and eventually your expensive hive bodies will become unusable.
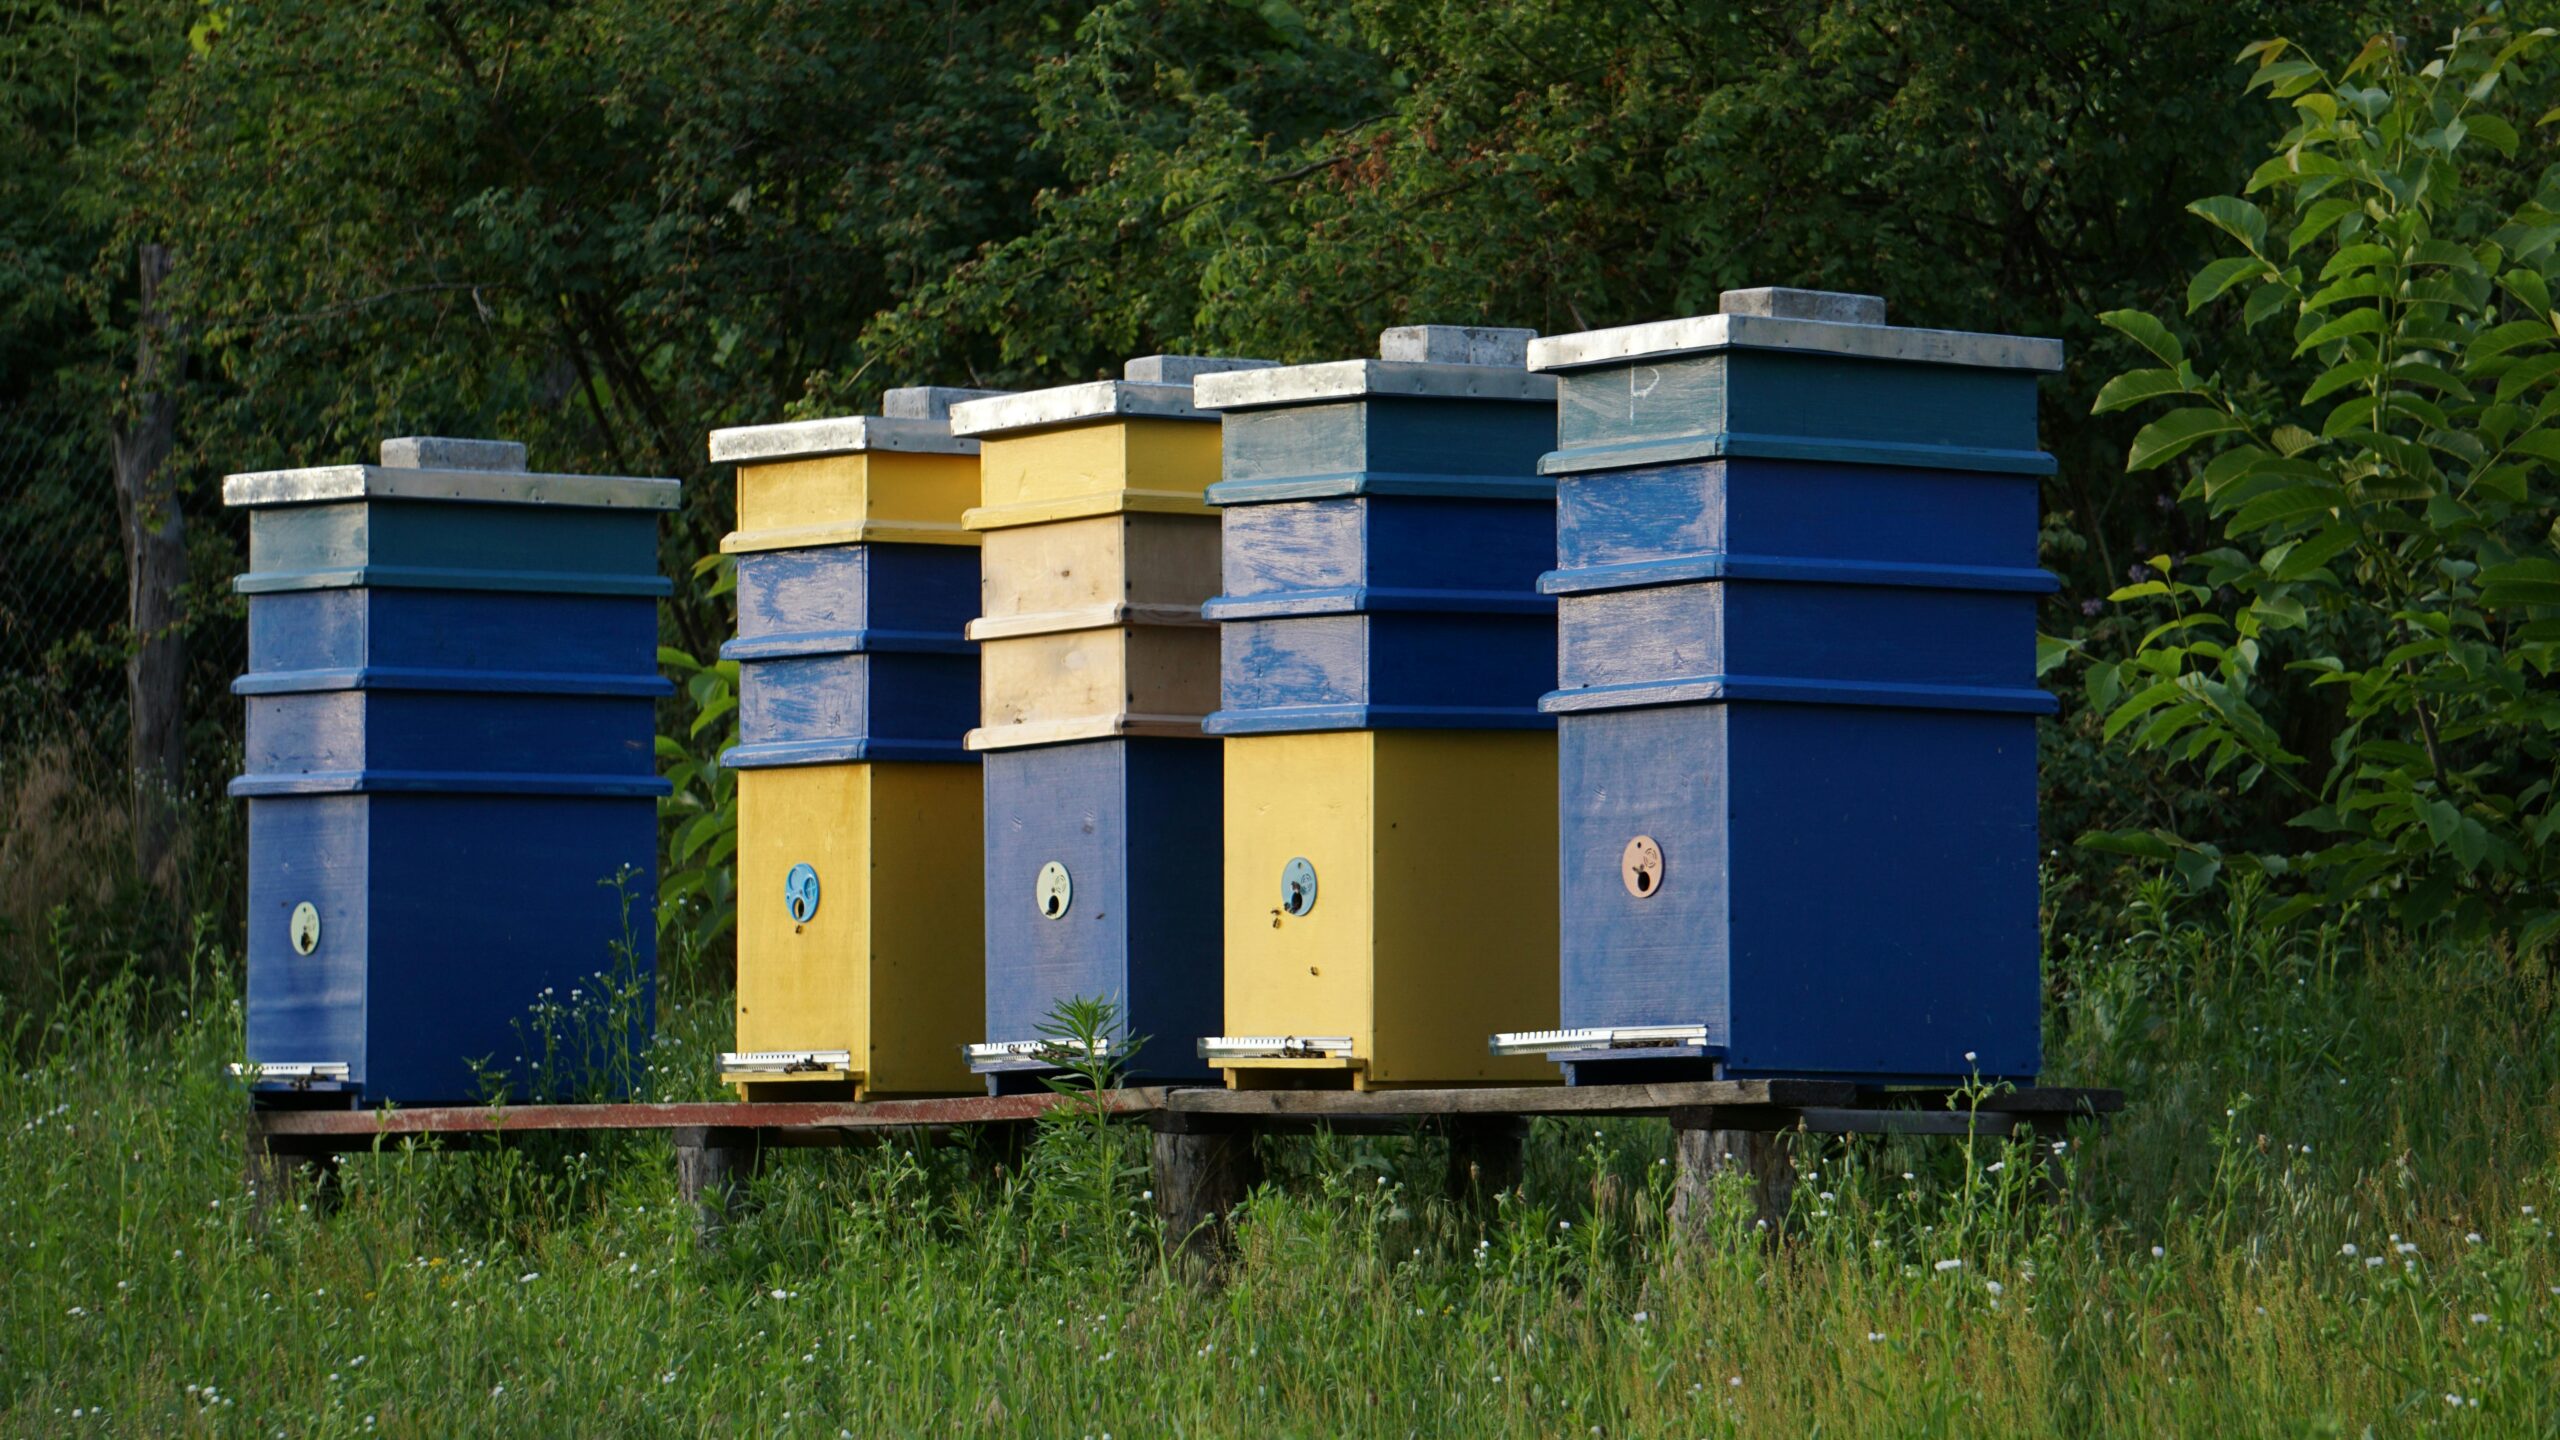
This is why nearly every beekeeper protects their equipment with paint. It’s affordable, accessible, and easy to apply.
Paint: Latex vs. Oil-Based Options
When choosing paint for beehives, you’ll likely be deciding between latex (water-based) and oil-based products. Here’s how they compare:
Latex Paint
- Easier to apply
- Faster drying time
- Less odor
- Easier cleanup (just soap and water)
- Environmentally safer
Oil-Based Paint
- More durable and moisture-resistant
- Slower to dry
- Stronger odor and VOCs
- Requires mineral spirits or solvents for cleanup
In our experience, and in most backyard apiaries, latex paint is the better choice. It holds up well, is easy to touch up as needed, and you won’t have to worry about harsh fumes or complicated cleanup. Just be sure to let it cure fully (ideally a few days) before installing bees.ees.
Pro tip: You don’t need expensive paint. I buy returned or mis-tinted paint at my local Home Depot for a fraction of the price. Just make sure it’s an exterior-grade, flat or satin finish, avoid high-gloss coatings that can trap heat or make boxes slippery to handle.
Wax Dipped Hives: A Premium Alternative
One newer option gaining popularity is the wax-dipped hive. In this method, wooden hive components are submerged in a hot mixture of paraffin wax and rosin at temperatures around 250–300°F. The heat drives out moisture and sterilizes the wood, while the wax mixture soaks deep into the grain, sealing and preserving the entire surface.
The result is a highly water-resistant, rot-resistant hive that never needs painting. Bees don’t mind the natural wax coating, and over time, wax-dipped boxes tend to age more gracefully than painted ones.
Some beekeepers attempt this at home, but it’s not for the faint of heart. Working with large quantities of hot wax over open flame or high-powered burners comes with real fire risk. Plus, the cost of equipment can easily outweigh the savings.
Personally, I’d rather just pay a company to do it at the time of manufacture. There’s a premium, sure, but it saves time, eliminates painting, and gives me more time to focus on my bees. If you want to see an example, check out this wax-dipped Bee Castle hive that’s ready to go right out of the box.
Shou Sugi Ban: The Burned Wood Method
For those looking for a more natural approach, another option is shou sugi ban, the Japanese technique of charring wood to preserve it. Originally used on siding and fencing, this method involves lightly burning the outer surface of the wood to seal and protect it from rot, insects, and weather.
In beekeeping, some hobbyists use this method for hive boxes or stands. It looks beautiful and adds a rustic touch, and properly burned wood becomes surprisingly weather-resistant. That said, it takes time, requires a torch and safe handling, and results can be inconsistent if not done correctly. Also, you still need to be cautious about how much heat is applied to maintain structural integrity.
Which Option is Right for You?
If you’re keeping bees long-term, protecting your equipment is a no-brainer. Paint is the standard, and for good reason. It’s cheap, available, and easy to apply and reapply. If you want a premium, no-paint-needed solution, wax-dipped gear might be worth the up-front investment. And if you’re into traditional techniques, burning your wood for preservation might be a satisfying weekend project.
Just remember: no matter how you protect your hives, make sure they’re safe for the bees and built to last. It’s easier, and cheaper, to protect your investment than it is to replace it.
Want More Beekeeping Info?
Watch on YouTube: https://youtube.com/@beekeepingfornewbees
Join the Discord Community: https://discord.gg/XzkqFKrjMJ
Visit the Website: https://beekeepingfornewbees.com