Moving honey bees is one of the more intimidating tasks a beekeeper might face, especially early on. With a little preparation and a solid understanding of bee behavior, relocating hives becomes a smooth, manageable process that will feel routine as you gain experience. Whether you’re picking up a package from the post office, moving a colony to better forage, adjusting your home apiary layout, or dealing with seasonal shifts, the fundamentals remain the same: secure the bees, minimize stress, and set them up for success at their new home.
How Honey Bees Navigate Home
When a bee leaves the hive for the first time, she performs orientation flights to build a visual map of the hive’s surroundings. These looping flights help her memorize nearby landmarks and landscape features she’ll use to navigate back after foraging.
A typical honey bee forages within a five-mile radius of its hive. If you move a hive less than five miles from its original location, many foragers will attempt to return to the old site. To prevent this, we use the old saying, “5 inches or 5 miles.” We’ll discuss the details later on.
Reasons for Moving Bee Colonies
There are many reasons beekeepers need to move bees. New packages and nucleus colonies picked up from suppliers must be transported carefully to their new homes. Swarms captured from trees or structures need to be relocated into managed yards. Splits created for colony management or queen rearing often require transportation to a different bee yard. Seasonal changes, loss of forage, pesticide applications, or even neighbor concerns can all create situations where a hive move becomes necessary.
Preparing for a Bee Move
Successful relocation starts with preparation. While many commercial operations move bees at night or in the very early morning, most hobbyists find it easier and safer to move colonies during daylight hours. If you know you’ll be moving a hive, go ahead and close it up about an hour after dark, or an hour before first light. That way, the bees will all be inside and contained when you’re ready to move them.
Keep in mind that during the day, a portion of the colony is typically out foraging. This reduces the number of bees inside the hive and allows for better airflow. If you close up the hive and transport it during a hot day, the temperature can rise quickly. Always consider moving bees on a cooler day if possible, or keep the hive inside your vehicle if you can do so safely without restricting ventilation.
Check the weather forecast carefully. Avoid moving bees during heavy rain, high winds, or extreme temperatures below 50°F or above 90°F. Assemble everything you will need ahead of time: ratchet straps, a smoker, sugar syrup spray bottle, foam padding for transport, transport bags for small colonies, hive tools, protective clothing, and plenty of ventilation materials like #8 hardware cloth .
Before transport, confirm that all entrances are to the hive are securely blocked with hardware cloth to prevent bee escape while still allowing airflow. Strapping the hive together vertically and horizontally ensures that hive components stay intact during transport.
Transporting Bees Safely
When loading hives for transport, place them flat on foam pads or soft material to minimize vibration. Secure the hives against the vehicle wall to prevent sliding during turns or stops. Cover colonies with a mesh tarp or other breathable material to shield them from rain and wind without trapping heat.
In hot weather, overheating is a major risk. Good airflow is critical. In colder conditions, avoid exposing hives to cool winds, but ensure ventilation is sufficient to keep temperatures stable. Always drive carefully, accelerating and braking slowly to avoid jostling the bees unnecessarily.
Many beekeepers transport nucs and packages in their cars or trucks with no issue. As long as you’re comfortable with a few stray bees potentially getting loose, placing bees inside the vehicle is often safer than putting them in the open bed of a truck, especially in cold or hot weather. A mesh bee transport bag provides a breathable containment option, keeping you safe and the bees secure
Moving Short Distances
Moving a hive less than five miles presents special challenges. Many foragers will return to the old site, resulting in significant losses. If you must move a hive a short distance, there are two options. The method I’ve used in the past follows the “5 inches or 5 miles” rule. You pick up the hive, move it a few inches, and set it back down. A few days later, you repeat the process. This slow crawl relocation can work, but it’s extremely time-consuming and, in my opinion, not worth the effort unless you’re only shifting the hive within a small area of the yard.
What I usually do instead is simply move the hive directly to its new spot. Yes, you will lose some foragers, but in the grand scheme, it’s a manageable loss. Your queen is laying anywhere from 1,000 to 2,000 eggs a day. Losing the equivalent of half a day’s foragers isn’t ideal, but it’s also not catastrophic. What matters more is doing it at the right time of year and under the right conditions.
There are two ideal times to make this kind of short move. The first is early spring, when colonies are rapidly expanding and likely close to swarming. Losing a batch of foragers and promoting younger workers can actually help reduce swarming pressure. The second is at the end of the season after your final inspection, just before winter bees settle in. The older foragers will die soon anyway, so a little drift is not a big deal.
If you move bees during mid-season or outside those windows, just be prepared. If you’re not in an active nectar flow, consider feeding lightly to help rebuild the forager population. The key is understanding that some loss is expected, but timing and follow-up support make all the difference.
Moving Long Distances
When moving bees more than five miles, losing old foragers is not an issue. Open the hive entrances as soon as you place the hives at the new location. Exiting foragers will begin performing orientation flights on their first trip out, and they will return to business as usual.
Setting Up the New Hive Location
Once your bees are in place, go ahead and get the hive opened up immediately. They have work to do, so let’s get them moving.
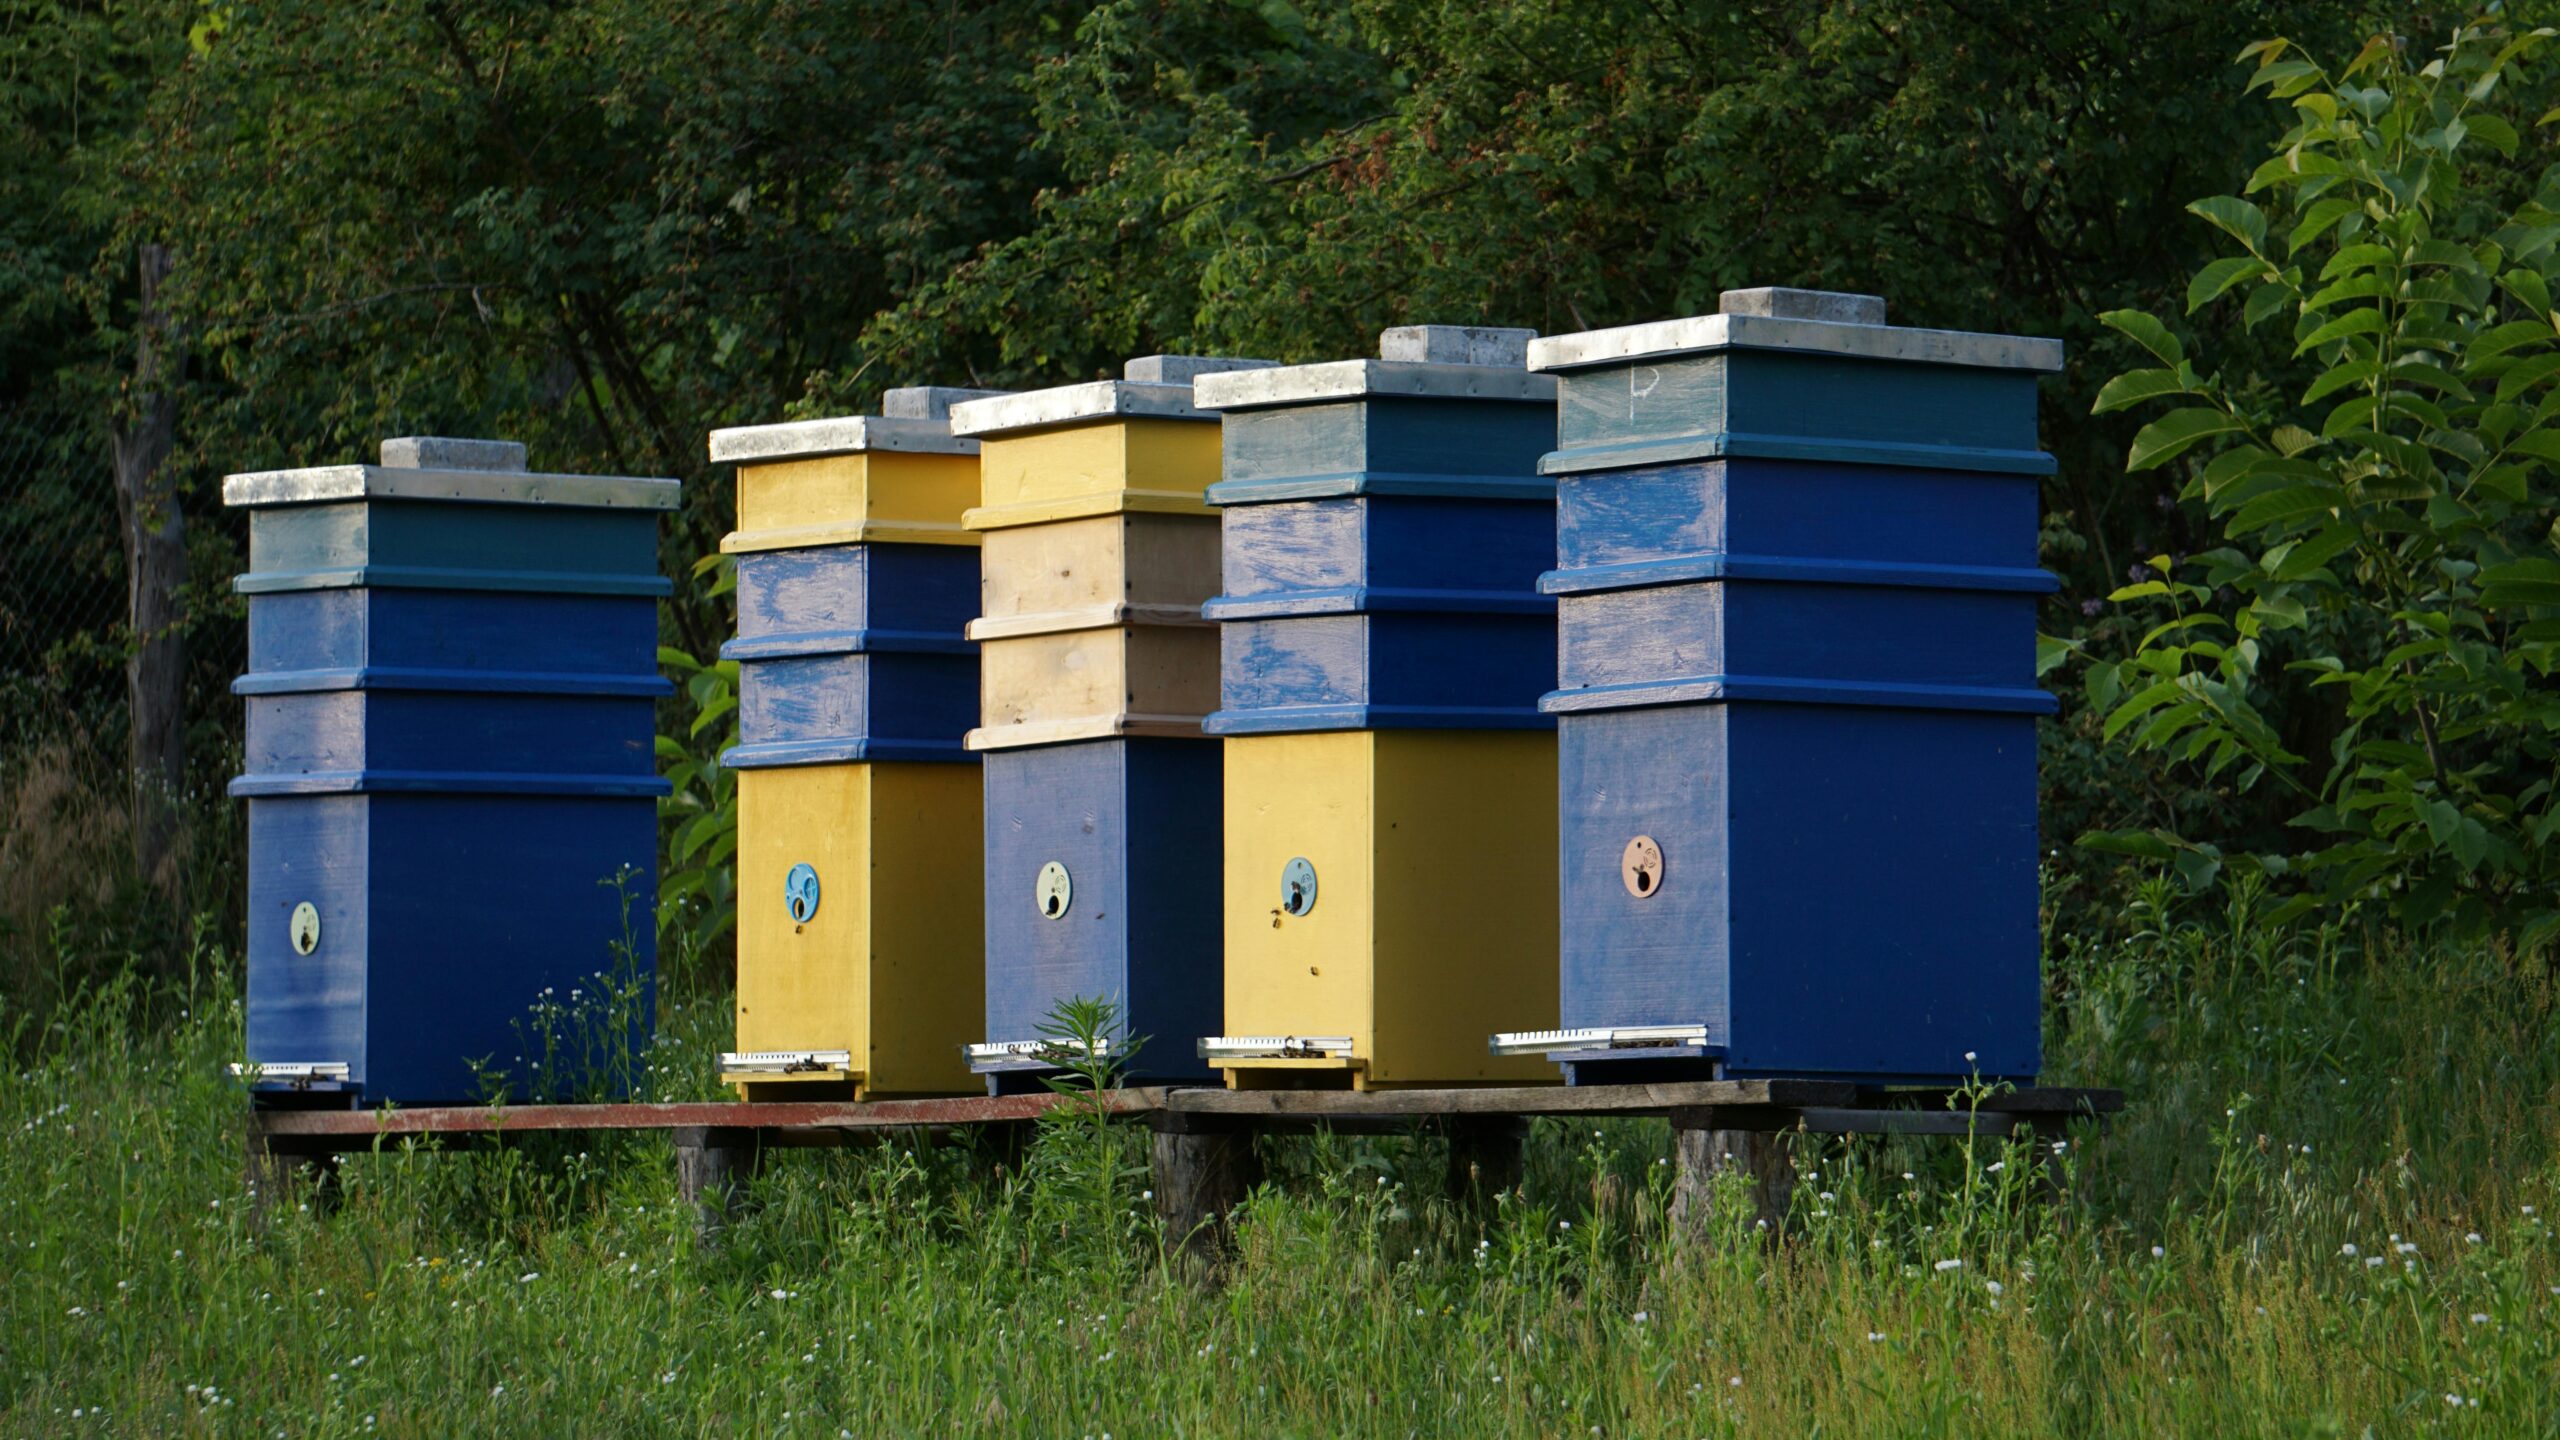
Make sure to space hives thoughtfully if setting up multiple colonies, leaving enough room for easy inspections and reducing drift between colonies.
Post-Move Inspections
Inspect relocated colonies within the first couple of days to be certain that your queen is present and layhing. Moving the bees can be very stressful, so we want to be certain that everything is back to normal after the move.
Common Mistakes to Avoid
Overheating is one of the most serious risks when moving bees, particularly if colonies are wrapped in plastic tarps or loaded into spaces with poor airflow. Always use breathable coverings, such as mesh tarps, and make sure there’s enough ventilation to keep the internal temperature from climbing too high during transport.
Improperly secured hives are another common issue. Always double-check that your hive components are tightly strapped together and anchored in the vehicle. A hive that slides or breaks apart mid-trip is dangerous for you, the bees, and anyone else on the road.
Ventilation during transport is critical. Never block entrances with airtight materials. Use breathable screens like hardware cloth to keep bees contained while allowing air to circulate. Trapped bees can overheat quickly, especially in warmer conditions.
It’s also important to be prepared for unexpected issues. Keep your smoker, hive tool, bee suit, duct tape, and a pair of snips or scissors on hand. If something goes wrong in transit, you don’t want to rely on someone else to solve the problem. First responders may not be equipped, or willing, to help when live bees are involved, and the last thing you want is to end up on the 11 o’clock news.
Lastly, don’t move bees until the new site is 100% ready. Hive stands should be set up and leveled. If you’re going to need to feed, go ahead and get sugar syrup mixed up in advance. When it’s all said and done, the goal is to get the bees back to the business of beeing bees as quickly as possible after the move.
Final Thoughts
Relocating bee colonies is a standard part of beekeeping, and with experience, it becomes a routine task. Successful moves depend on careful preparation, respect for bee behavior, and a focus on minimizing stress during transit. Every move deepens your connection to your bees, teaching you more about their resilience and adaptability. With planning and care, you can relocate colonies confidently and ensure they thrive in their new home.
Want More Beekeeping Info?
Watch on YouTube: https://youtube.com/@beekeepingfornewbees
Join the Discord Community: https://discord.gg/XzkqFKrjMJ
Visit the Website: https://beekeepingfornewbees.com