Starting your beekeeping journey with package bees is always exciting. These buzzing boxes contain thousands of workers and a mated queen ready to get to work building out their new home. Whether you’re setting up your very first hive or expanding your apiary, proper installation helps the colony get off to a strong start.
In this post, I’ll walk you through the method I use to install package bees. It’s simple, gentle, and works for beginners and experienced beekeepers alike. You’ll learn how to safely transfer your bees into their hive, position the queen cage correctly, and set them up for successful comb-building.
What You’ll Need
Here’s what I always have on hand before installing a package:
-
Protective gear (veil, gloves, suit)
-
Spray bottle with light sugar syrup (1:1)
-
Hive body with frames (preferably with wax foundation)
-
Feeder (top or frame feeder works best)
-
Hive tool
-
Smoker
If you’ve never installed a package before, don’t worry—it’s easier than it seems once you’re prepped and ready to go.
Why Technique Matters
A calm, smooth install reduces stress on the bees and helps with queen acceptance. Rushed or rough handling can result in queen rejection or comb-building delays. I’ve blended best practices from mentors, reputable sources, and my own lessons learned to offer you a reliable, repeatable method.
Step 1: Prepare the Hive
Set up your hive in advance. Make sure it’s on level ground, gets morning sun, and is stable. I like to keep hives at least 2 feet apart for airflow and working space.
Check that all frames are in place except for the 3 or 4 you’ll remove temporarily to pour the bees in. If you’re assembling frames yourself, use a waterproof wood glue (like Titebond III), not just nails. Glue makes the structure hold up over time. I also test my smoker the night before—nothing worse than running into an issue after the bees are out.
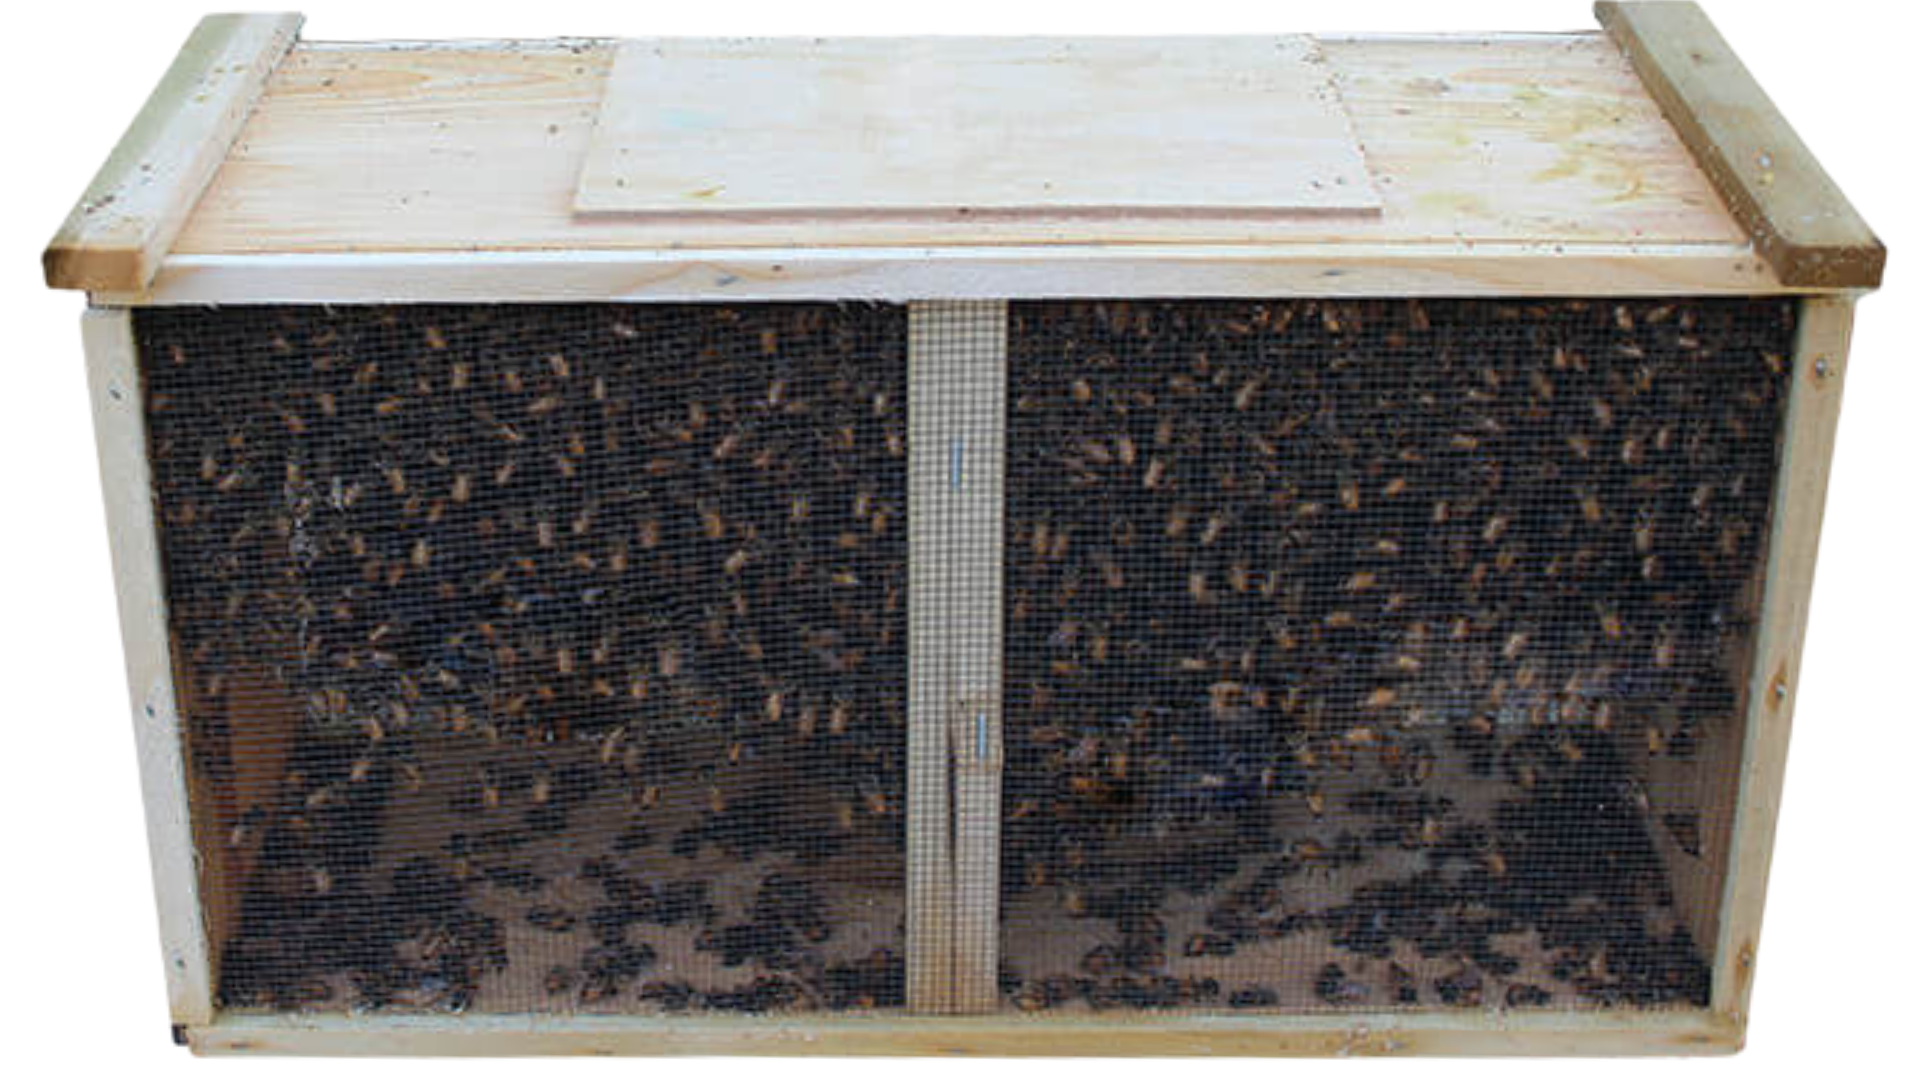
Step 2: Understand What’s in the Package
Most standard packages contain:
| Component | Purpose |
|---|---|
| Worker bees | The bulk of the colony |
| Queen cage | Contains a mated queen |
| Syrup can | Feeds the bees during transport |
The queen is kept separate in a small cage so the bees have time to accept her pheromones. The candy plug slowly dissolves over 3–5 days, allowing her to be released naturally by the workers.
Step 3: Installing the Bees
I like to install bees in the afternoon when it’s warm and the sun is still out. Bees fly more readily and orient themselves faster in warmer temps—ideally above 65°F.
Here’s my step-by-step:
-
Lightly mist the bees through the screen with sugar water. This helps keep them calm and focused on grooming.
-
Remove the lid of the box carefully. Take out the feeder can and the queen cage.
-
Inspect the queen to make sure she’s alive and moving. Gently set her aside in the shade.
-
Tap the box firmly on the ground to cluster the bees at the bottom.
-
Pour the bees into the hive through the gap created by removing 3–4 center frames. Tilt the box at a 45° angle and give a few firm shakes.
-
Suspend the queen cage between two middle frames using a rubber band or toothpick. Make sure the candy end is facing down—this helps with moisture control and allows easier access for the workers.
-
Important: If there’s a cork over the candy, remove it first.
-
I also like to press a small nail into one side of the candy plug to poke a starter hole. It’s not mandatory, but it helps break up the candy just a little and gets the process started.
-
-
Gently replace the frames you removed and close the hive.
I leave the nearly empty package box just outside the entrance. Any remaining bees will find their way in within a few hours.
Step 4: Feed Immediately
New bees need energy to build comb, so I always add a 1:1 sugar syrup feeder right after installation. I use 4 cups water to 4 cups sugar, stirred until dissolved. Place the feeder on top of the inner cover or inside the hive, depending on your setup. Check and refill every few days until they’ve drawn out most of the first box.
Step 5: Safety and Best Practices
Even docile bees can get defensive during installation, so don’t skip protective gear. A veil is non-negotiable. Gloves and a jacket are smart, especially your first few times.
Temperature Tips:
| Temperature | Bee Behavior | Recommendation |
|---|---|---|
| Below 60°F | Bees may cluster tightly | Reschedule |
| 65–75°F | Ideal for installation | Proceed |
| Over 85°F | Risk of overheating | Provide shade/water |
Cold bees may not move well. Hot bees can become irritable or dehydrated. Pick your day accordingly.
Troubleshooting
Here are a few issues I’ve run into—and how I handle them:
-
Bees won’t accept the queen? Watch for aggressive behavior around the cage. If they’re biting or balling her, delay release and contact the supplier if needed.
-
They’re not building comb? Check your syrup level in the feeder and make sure it’s working properly and accessible to the bees. If you’re using foundationless frames, consider adding starter strips to guide comb placement. Honeybees don’t always get excited about working with plastic foundation.
-
Bees clustering outside the hive? That’s normal for a few hours. If they stay overnight, check ventilation and confirm that the queen is still in the cage.
Final Tips
The first 72 hours are the most important. Don’t disturb the hive, other than taking a quick peek on day 3 or 4 to check if the queen has been released and that the feeder still has enough syrup to get them through to your week-one inspection.
Be patient. Queen acceptance issues usually resolve within three days if you don’t rush things. Observe, adapt, and give the colony what it needs without overhandling it. You’ll have plenty of time to get your hands on them once they’ve settled in.
Want More Beekeeping Info?