Lighting a bee smoker seems simple—until you’re standing in your bee yard with a handful of smoldering burlap and a hive full of increasingly annoyed honey bees. If you’ve ever struggled to keep your smoker going long enough to finish an inspection, you’re not alone.
In this post, I’ll walk you through how I light my smoker, the fuel types I prefer, what not to use, and how to keep it lit while you’re working through your colonies. I’ve also included a video below where I show my exact method step-by-step.
Whether you’re brand new to beekeeping or just sick of fighting with your smoker every time you suit up, this guide will save you a lot of frustration.
Why a Smoker Is So Important
Before we dive into technique, let’s talk about why the smoker matters. The purpose of smoke is to mask alarm pheromones and disrupt communication in the hive. When used properly, a smoker helps you:
- Calm the colony
- Reduce aggressive behavior
- Give yourself time to inspect without triggering a defensive response
Smoke doesn’t “knock bees out,” and it shouldn’t be used as a crutch for poor hive handling. However, when used sparingly and thoughtfully, it makes every inspection easier and safer for both you and the bees.
What You’ll Need
Here’s what I personally keep on hand when I’m lighting my smoker:
- A standard stainless steel bee smoker with a functioning bellow
- A reliable lighter or torch (I prefer a propane torch with an auto-ignition switch)
- A starter fuel (like crumpled newspaper, pine needles, or dried grass)
- A main fuel that burns cool and long (I don’t use burlap, but it is a popular option – just make sure there are no dyes or chemicals on it)
Some folks swear by wood pellets, smoker fuel pellets, or even cardboard egg cartons. You can use whatever works best for your setup—just avoid synthetic materials that give off toxic fumes.
Step-by-Step: How I Light My Bee Smoker
I walk through this visually in my video below, but here’s a written version of exactly how I do it.
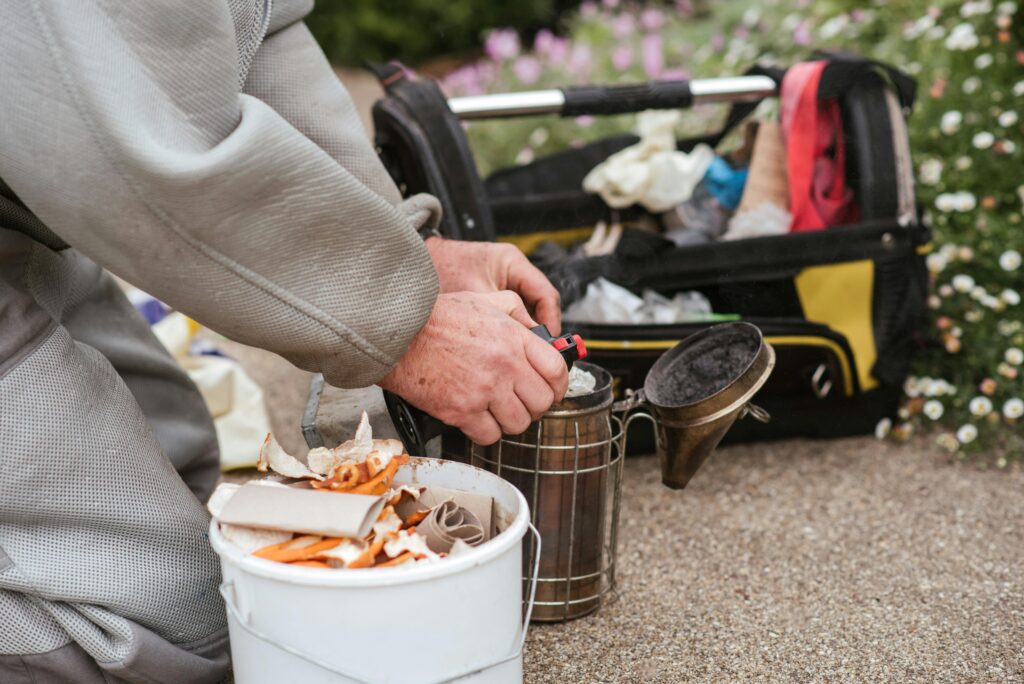
1. Start With a Base Fire
I begin by adding a small wad of dry, flammable material to the bottom of the smoker—usually some pine shavings or crumpled newspaper. I light it with a propane torch and make sure it’s burning evenly before I start pumping the bellows. Basically you want to treat it like a campfire where you get it burning with small, light, and dry materials, then add some slightly larger material to keep the smoker lit for longer periods.
The key here is to build a real flame, not just a smolder.
2. Add Fuel Gradually
Once the base is going, I slowly add my main fuel (burlap or cotton fabric). I press it in gently with my hive tool and keep puffing the bellows to drive air into the bottom and build heat.
A common mistake is adding too much fuel all at once—this can choke out your fire and leave you with a smolder that burns out before you even reach the second box.
3. Pack It Down and Build the Ember Core
Once it’s burning steadily, I pack in more burlap and press it down firmly with my hive tool. I give the bellows a few strong puffs to really stoke the ember core.
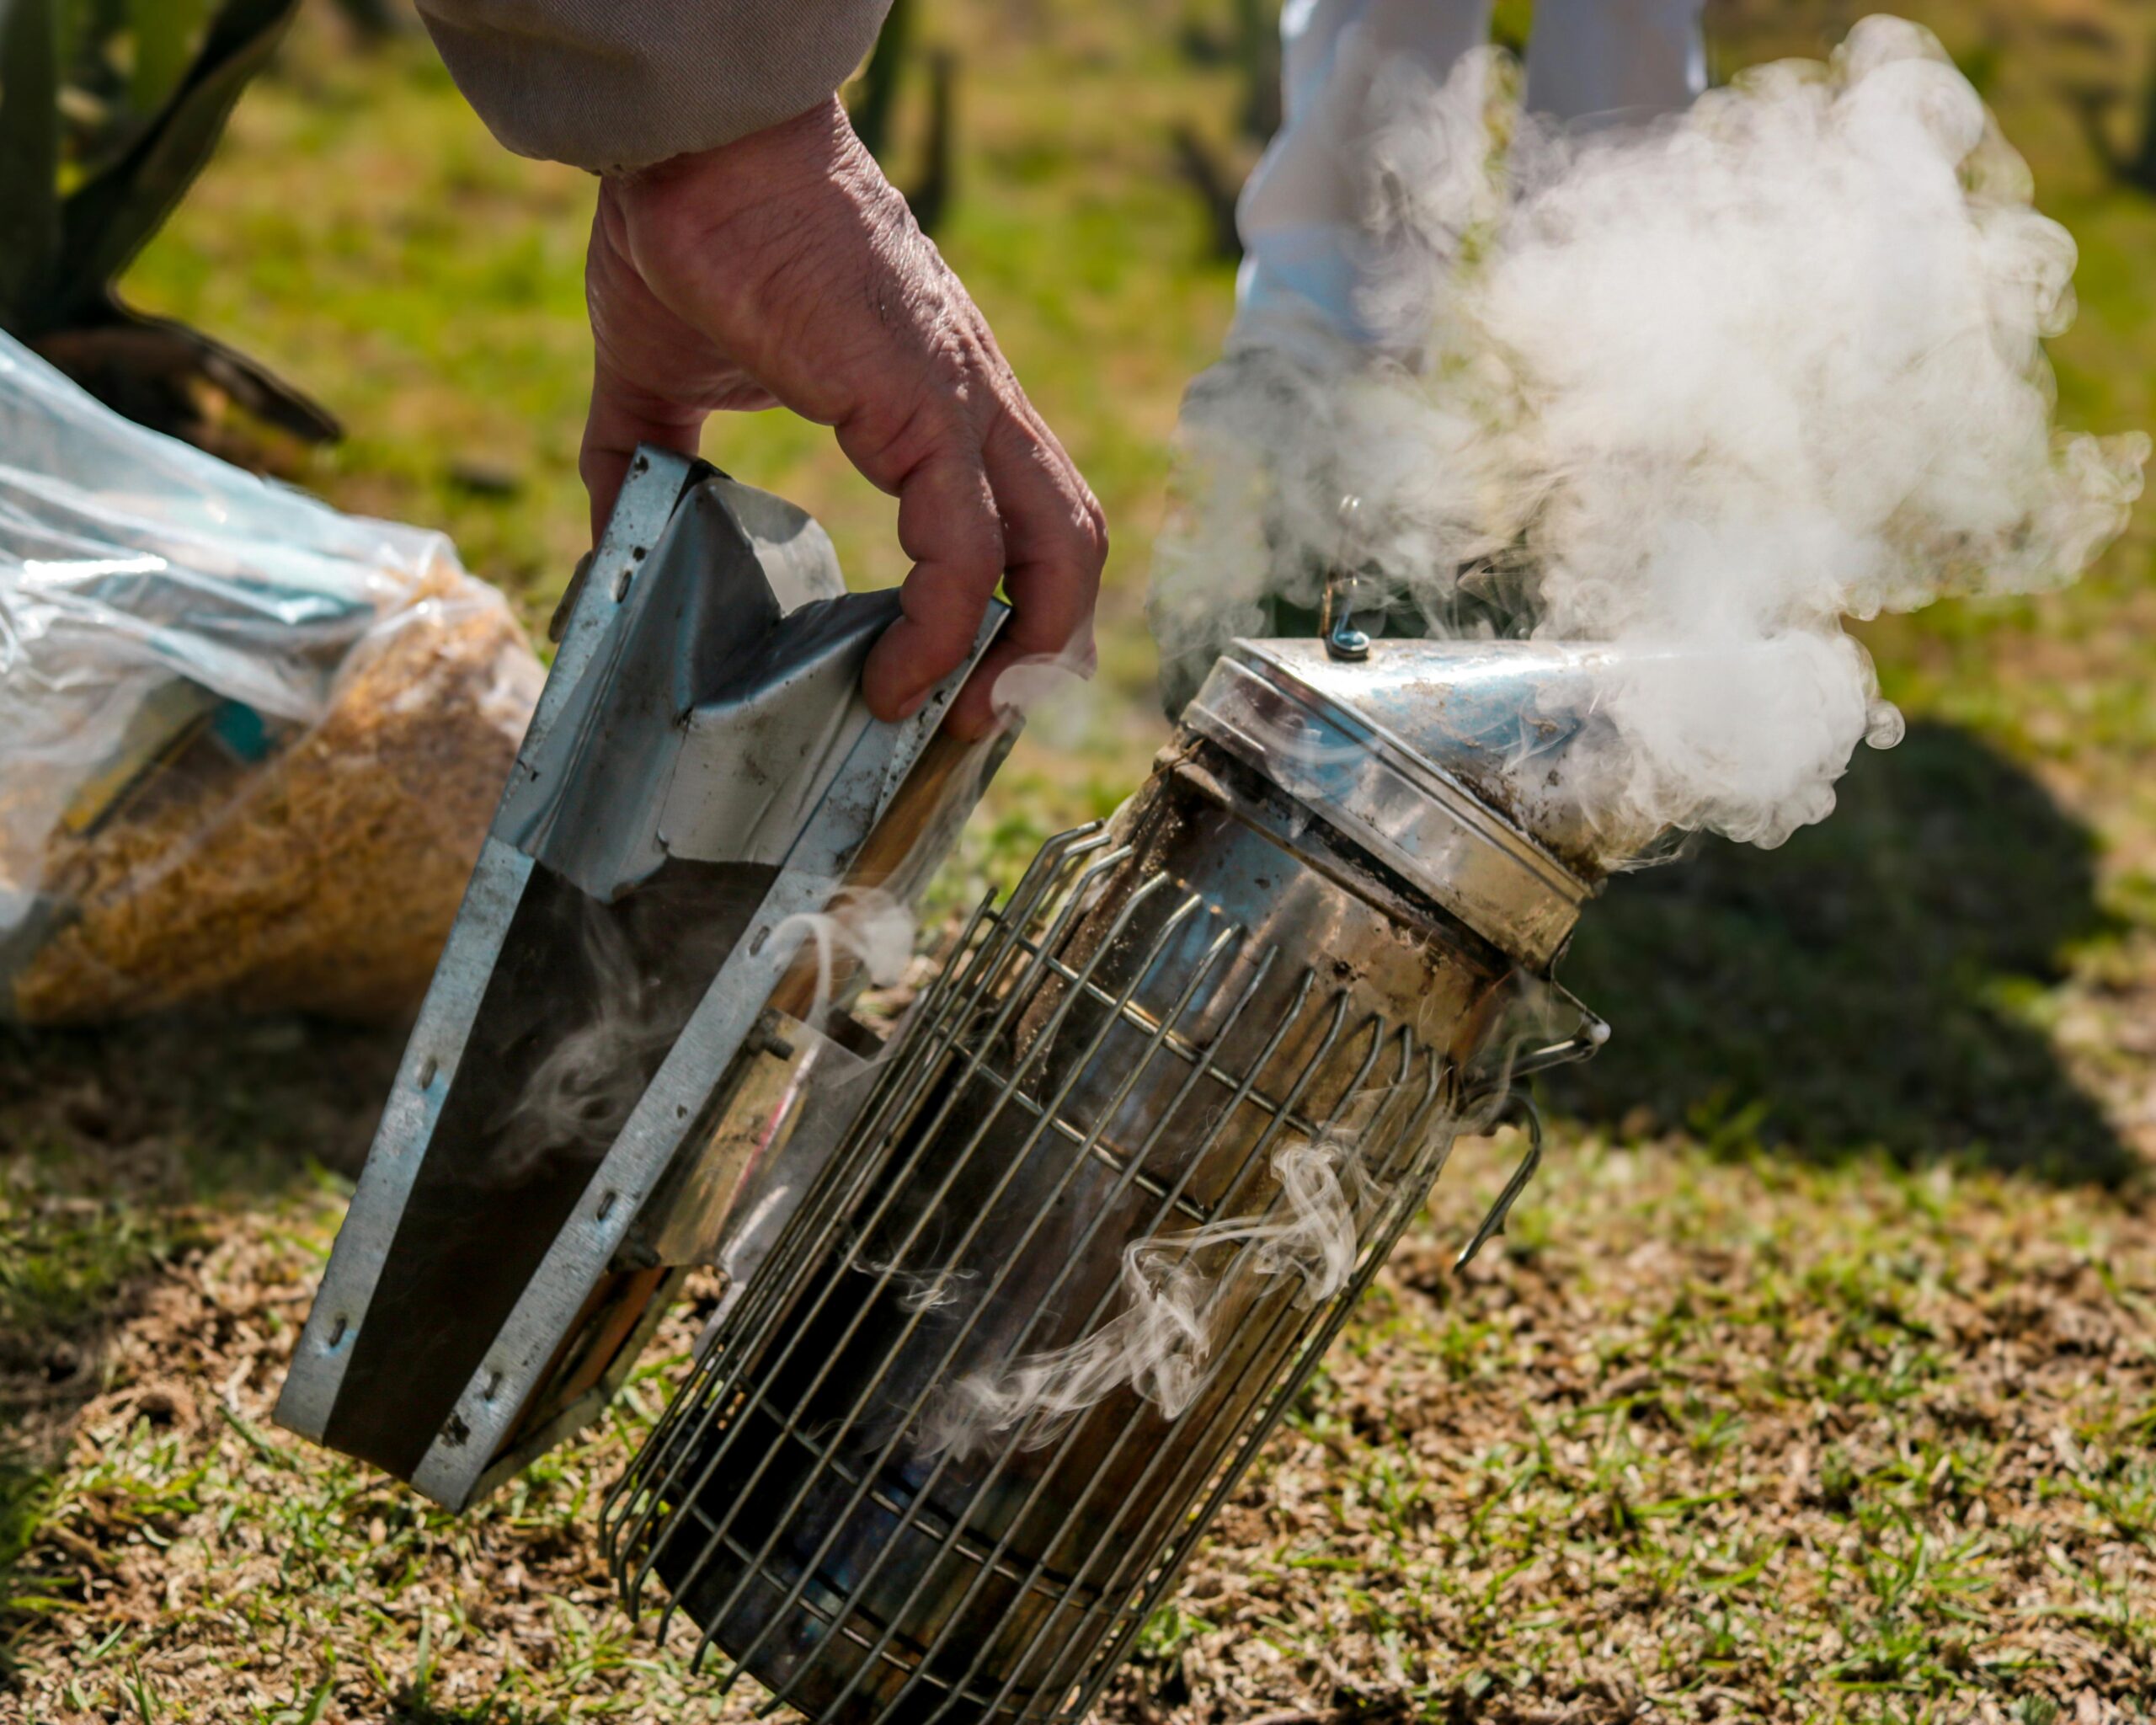
You’re looking for a cool, steady stream of thick white smoke—not black smoke or flying sparks.
4. Close the Lid and Check for Draw
With the smoker lid closed, give the bellows a few test pumps. If you get a consistent stream of smoke with no resistance, you’re ready to go.
If it seems like the smoke is weak or sputtering, open it up and check your ember core. You may need to add more fuel or re-light the bottom.
🔥 Watch the Video: Lighting a Bee Smoker Step-by-Step
I walk you through this exact method in real time so you can see how I manage fuel, air flow, and packing technique to keep my smoker lit from the first puff to the last inspection.
How to Keep Your Smoker Lit While You Work
Even if you get your smoker going strong at the start, it can go out if you let it sit too long between puffs. Here are a few things I do to keep mine going:
- Pump the bellows every few minutes, especially if you’re inspecting slowly or pausing between hives
- Don’t pack it too tight—smoke needs air to flow
- Use dry, consistent fuel—wet or inconsistent fuel will kill your fire
- If you’re doing a lot of hives, consider carrying a spare piece of fuel and your lighter just in case
Once you get the hang of managing airflow and ember density, you’ll rarely need to relight during an inspection. Just keep practicing!
What NOT to Use in Your Smoker
Avoid any materials that are chemically treated or synthetic. That includes:
- Glossy magazine paper or printed cardboard
- Dryer lint (can contain synthetic fibers)
- Wood with paint, stain, or varnish
- Insulation or plastic-based fibers
If you’re unsure if a material is safe to burn, don’t risk it. Your bees will end up breathing that smoke—and so will you.
Final Thoughts
Lighting a bee smoker isn’t hard once you’ve done it a few times, but getting it right takes some practice. Start with dry fuel, build a hot base, and make sure your smoker can breathe.
Trust me—when your smoker stays lit the entire time you’re working a hive, everything else about your inspection goes more smoothly.
And if you’re still struggling, check out the video. You’ll see exactly how I do it, and it might save you a few ruined inspections and half-burnt gloves.
Want More Beekeeping Info?
📺 Watch on YouTube
YouTube.com/@beekeepingfornewbees
💬 Join the Discord Community
Beekeeping For Newbees Discord Server
🌐 Visit the Beekeeping For Newbees Website
beekeepingfornewbees.com