Harvesting honey can be a rewarding experience for both beginners and seasoned beekeepers alike. Knowing the essential steps to effectively harvest honey ensures that you can gather this sweet product safely and efficiently. By following a structured approach, you can enjoy the fruits of your labor while maintaining the health of your bee colonies.
Equipped with the right tools and techniques, you can navigate the process with confidence. This article will outline five essential steps that will help you successfully harvest honey, making it accessible for your home or business needs.
1. Choosing the Right Time
Timing is crucial when harvesting honey. You want to ensure that the bees have maximized their foraging efforts and the honey is fully liquid. The best time to harvest is typically at the end of the nectar flow season. This period varies by location, usually aligning with late summer or early fall.
Check the weather conditions as well. A warm, dry day makes honey harvesting easier and more efficient. Avoid damp or rainy days since moisture can affect honey quality.
Inspect your hives to see how much honey is stored. Frames should be about 80% capped, indicating that the honey is ready. Uncapped honey may contain excess water and could ferment. The best method to check is using a refractometer. Your ideal water concentration is around 17-18%.
Consider the bees’ needs too. Leave enough honey for them to sustain themselves through winter. Balancing your harvest and their food supply is essential for a healthy hive.
2. Gathering Necessary Equipment
Before you begin harvesting honey, it’s essential to gather the right equipment. This ensures a smooth and safe process.
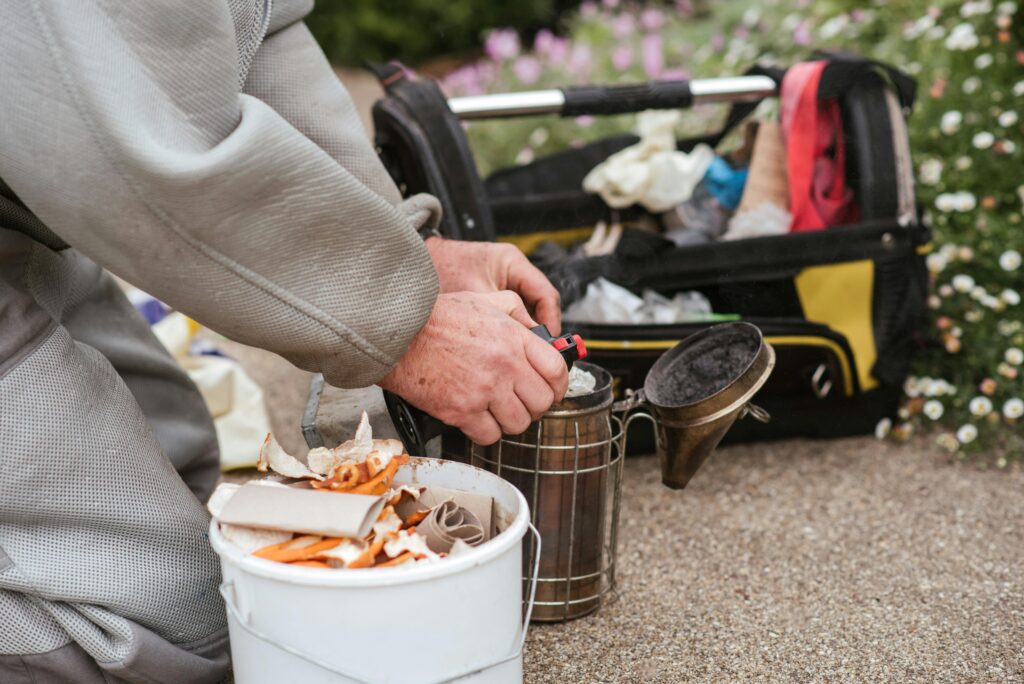
Start with protective clothing, including a beekeeping suit and gloves. These items protect you from bee stings. A well-fitted suit keeps you comfortable while working.
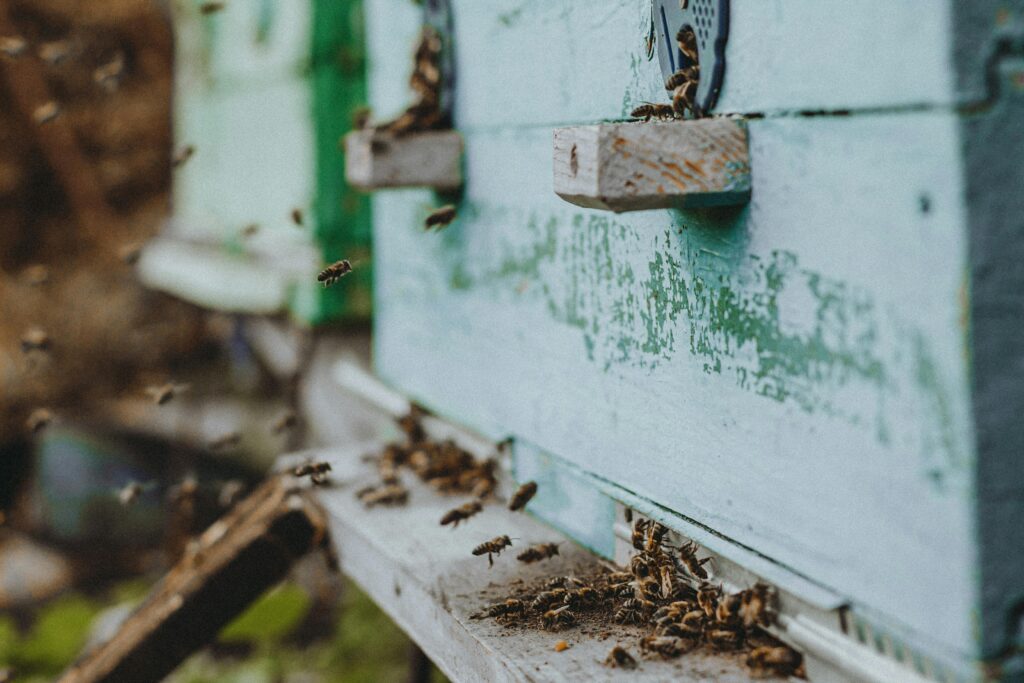
Next, you’ll need a smoker. This tool helps calm the bees, making them less defensive. Use it lightly before approaching the hive.
You will also require a hive tool. This multipurpose tool assists in removing frames from the hive and scraping off any excess wax or propolis.
A honey extractor is crucial for separating honey from the comb. Depending on your scale, select a manual or electric model. Ensure it is clean and in good working condition.
Finally, prepare containers for your honey. Use clean jars or specialized honey bottles. Label them for easy identification later.
Having the right tools makes harvesting much easier and safer. Ensure everything is organized and ready before starting your honey harvest.
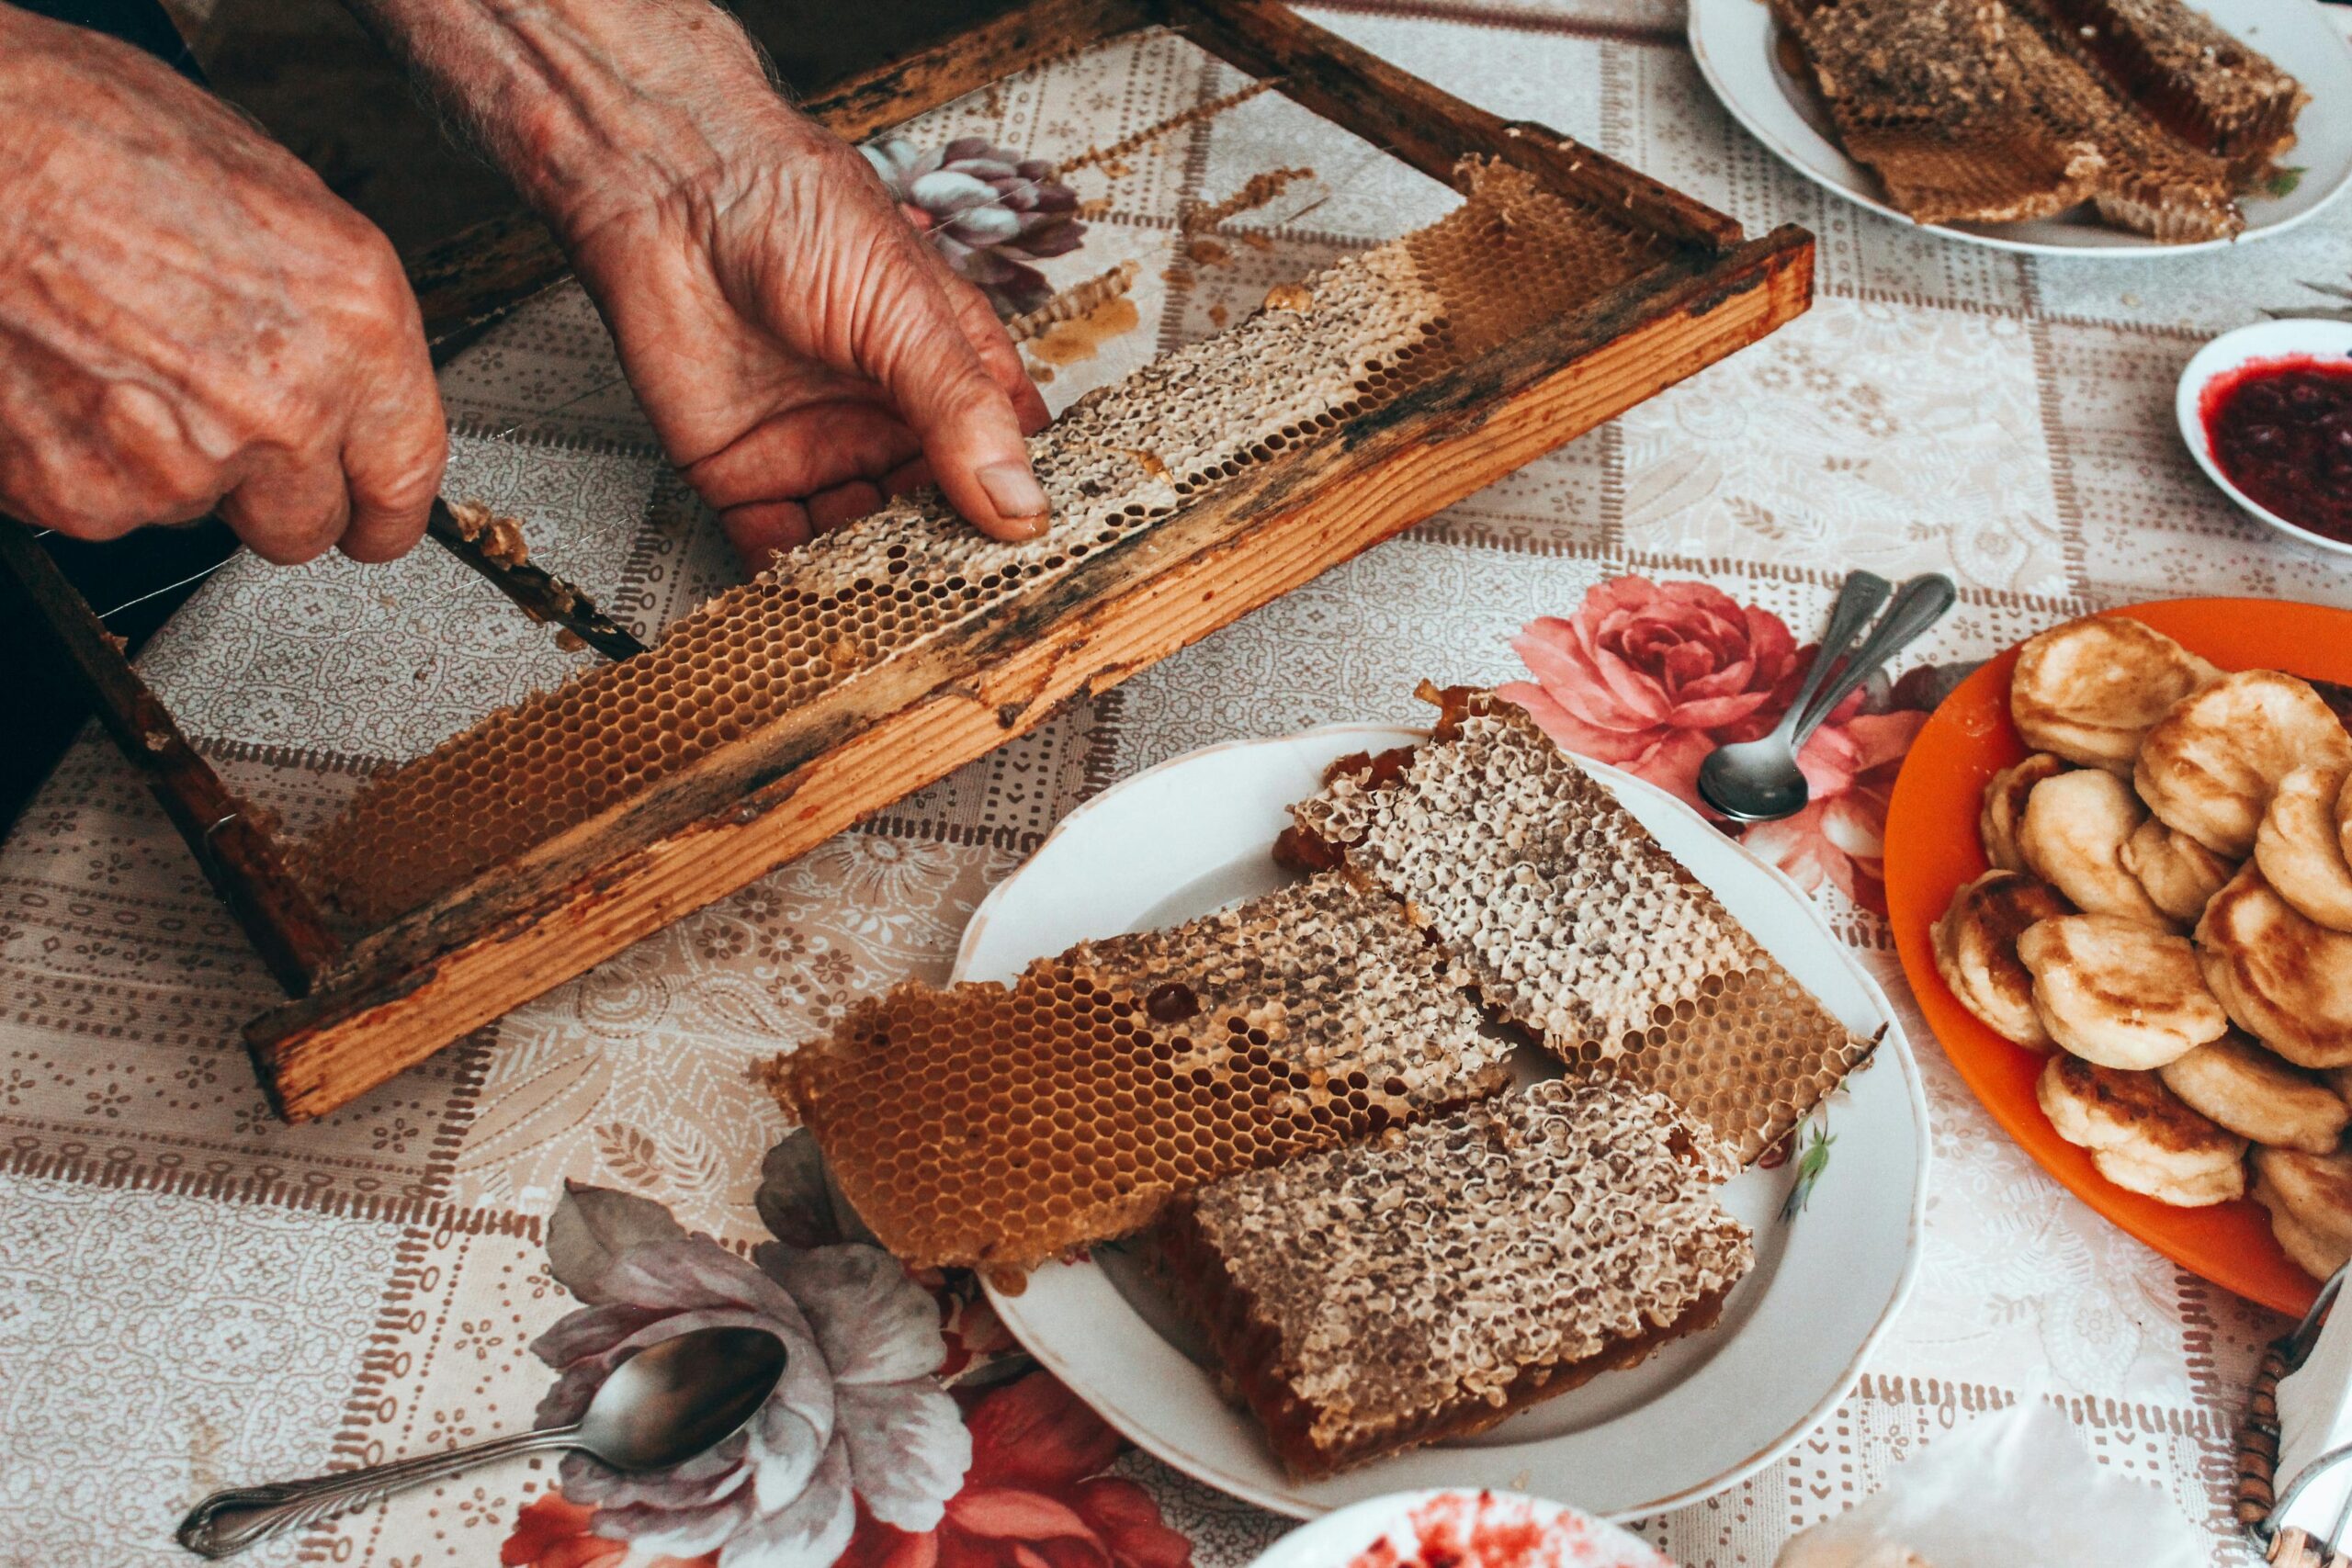
3. Removing Honey Frames
To begin removing honey frames, ensure you are wearing protective gear to avoid bee stings. A bee suit, gloves, and a veil are essential for your safety.
Use a hive tool to pry open the hive gently. Take care not to damage the frames or the bees. Smoke the surface lightly to encourage bees to move deeper into the hive.
Once you have access, select a frame filled with capped honey. Capped cells indicate that the honey is ripe and ready for harvesting. Use your hive tool to lift the frame out carefully.
As you pull the frame out, gently brush off any bees using a bee brush. This keeps the bees from becoming agitated during the process.
Handling the frames one at a time will help you manage the weight and prevent damage. Be cautious, as filled frames can be quite heavy.
After removing the frames, place them in a container that will protect them during transport. This keeps the honey safe from debris and potential contamination.
4. Extracting Honey
To extract honey properly, start by ensuring you have the right tools ready. This includes a honey extractor, uncapping knife or decapping tool, and containers for collecting the honey.
First, remove the frames filled with honey from the hive. Inspect them for any signs of pests or damage. This ensures you’re working with quality comb.
Next, use the uncapping knife or decapping tool to remove the wax caps from the honeycomb cells. Be careful to avoid damaging the comb itself, as it can be reused by the bees.
Once uncapped, place the frames in the honey extractor. This device spins the frames to forcibly remove the honey. Make sure to follow the manufacturer’s instructions for optimal results.
After extraction, strain the honey through a fine mesh to remove any wax particles. This step improves the clarity and quality of your honey.
Lastly, store the honey in clean, airtight containers. Label them with the date and any other relevant information for future reference. By following these steps, you ensure a clean and efficient extraction process.
5. Store the Honey
After you’ve finished extracting and straining your honey, it’s time to store it in a way that keeps it fresh and high quality. Use clean, airtight containers—typically glass jars or food-safe plastic—and make sure they’re completely dry before filling. Honey absorbs moisture from the air, so leaving it exposed or sealing it in damp containers can affect shelf life and lead to fermentation. Once sealed, store your jars in a cool, dry location, away from direct sunlight. Excess heat or light can darken the honey and reduce its natural aroma and flavor.
If you plan on selling or gifting your honey, labeling each jar with the harvest date and any relevant details can help keep your batches organized and traceable. One thing you’ll want to avoid is refrigerating honey. While it won’t spoil, refrigeration speeds up the crystallization process. If your honey does crystallize, placing the jar in a warm water bath will return it to a liquid state without damaging the beneficial enzymes.
Bonus Tip: Cleaning Up Sticky Frames After Harvesting
Once you’ve finished extracting the honey, the frames you used will still contain traces of honey, wax, and scent that can attract pests if left unattended. The best way to clean up these frames is to let the bees do it themselves. Return the “wet” supers—the boxes containing those extracted frames—back to the hive in the late afternoon or early evening. This gives the bees time to clean up the leftover honey without triggering robbing behavior from nearby colonies.
The bees will work their way over the comb, cleaning every cell and moving the leftover honey back into their active stores. Within a day or two, those frames will be dry, clean, and ready to be stored for future use. It’s an efficient and natural way to prepare your gear for the next season while giving your bees a chance to recover any residual resources.
Want More Beekeeping Info?