Hive inspections are one of the most important, and often misunderstood, parts of beekeeping. Done right, they give you a window into the health and status of your colony. Done wrong, they can cause stress, damage, or just be a waste of time.
This post will walk you through exactly what you need to know for a proper hive inspection: what to look for, when to do it, how to do it safely, and how to avoid the common mistakes that trip up new beekeepers.
Why Inspect a Hive in the First Place?
Inspections help you:
- Monitor queen health and brood pattern
- Check for signs of disease or pests
- Track population growth
- Prevent swarming
- Know when to add boxes or supers
It’s not about flipping through frames just to say you did it. You’re looking for answers to a few key questions every time you open a hive.
When Should You Inspect?
Inspecting too often is just as bad as not inspecting at all. Here are some general timing guidelines:
- Every 7–14 days during the spring buildup
- Less frequently towards the end of a strong nectar flow or in periods of dearth
- Avoid during bad weather—no inspections when it’s raining, windy, or cold
- Mid-morning to early afternoon is often ideal
What Gear Do You Need?
Keep it simple:
- Bee suit or jacket
- Gloves (if you use them)
- Hive tool
- Smoker and fuel
- A place to hang or rest frames (like a frame rack or empty box)
Optional: a notebook or voice recorder is a great way to log what you see.
How to Approach the Hive
- Always work from the side or back of the hive
- Move slowly and deliberately
- Use the smoker at the entrance, under the lid, and lightly between boxes
- Never crack open a hive and immediately start yanking out frames—give them time to settle
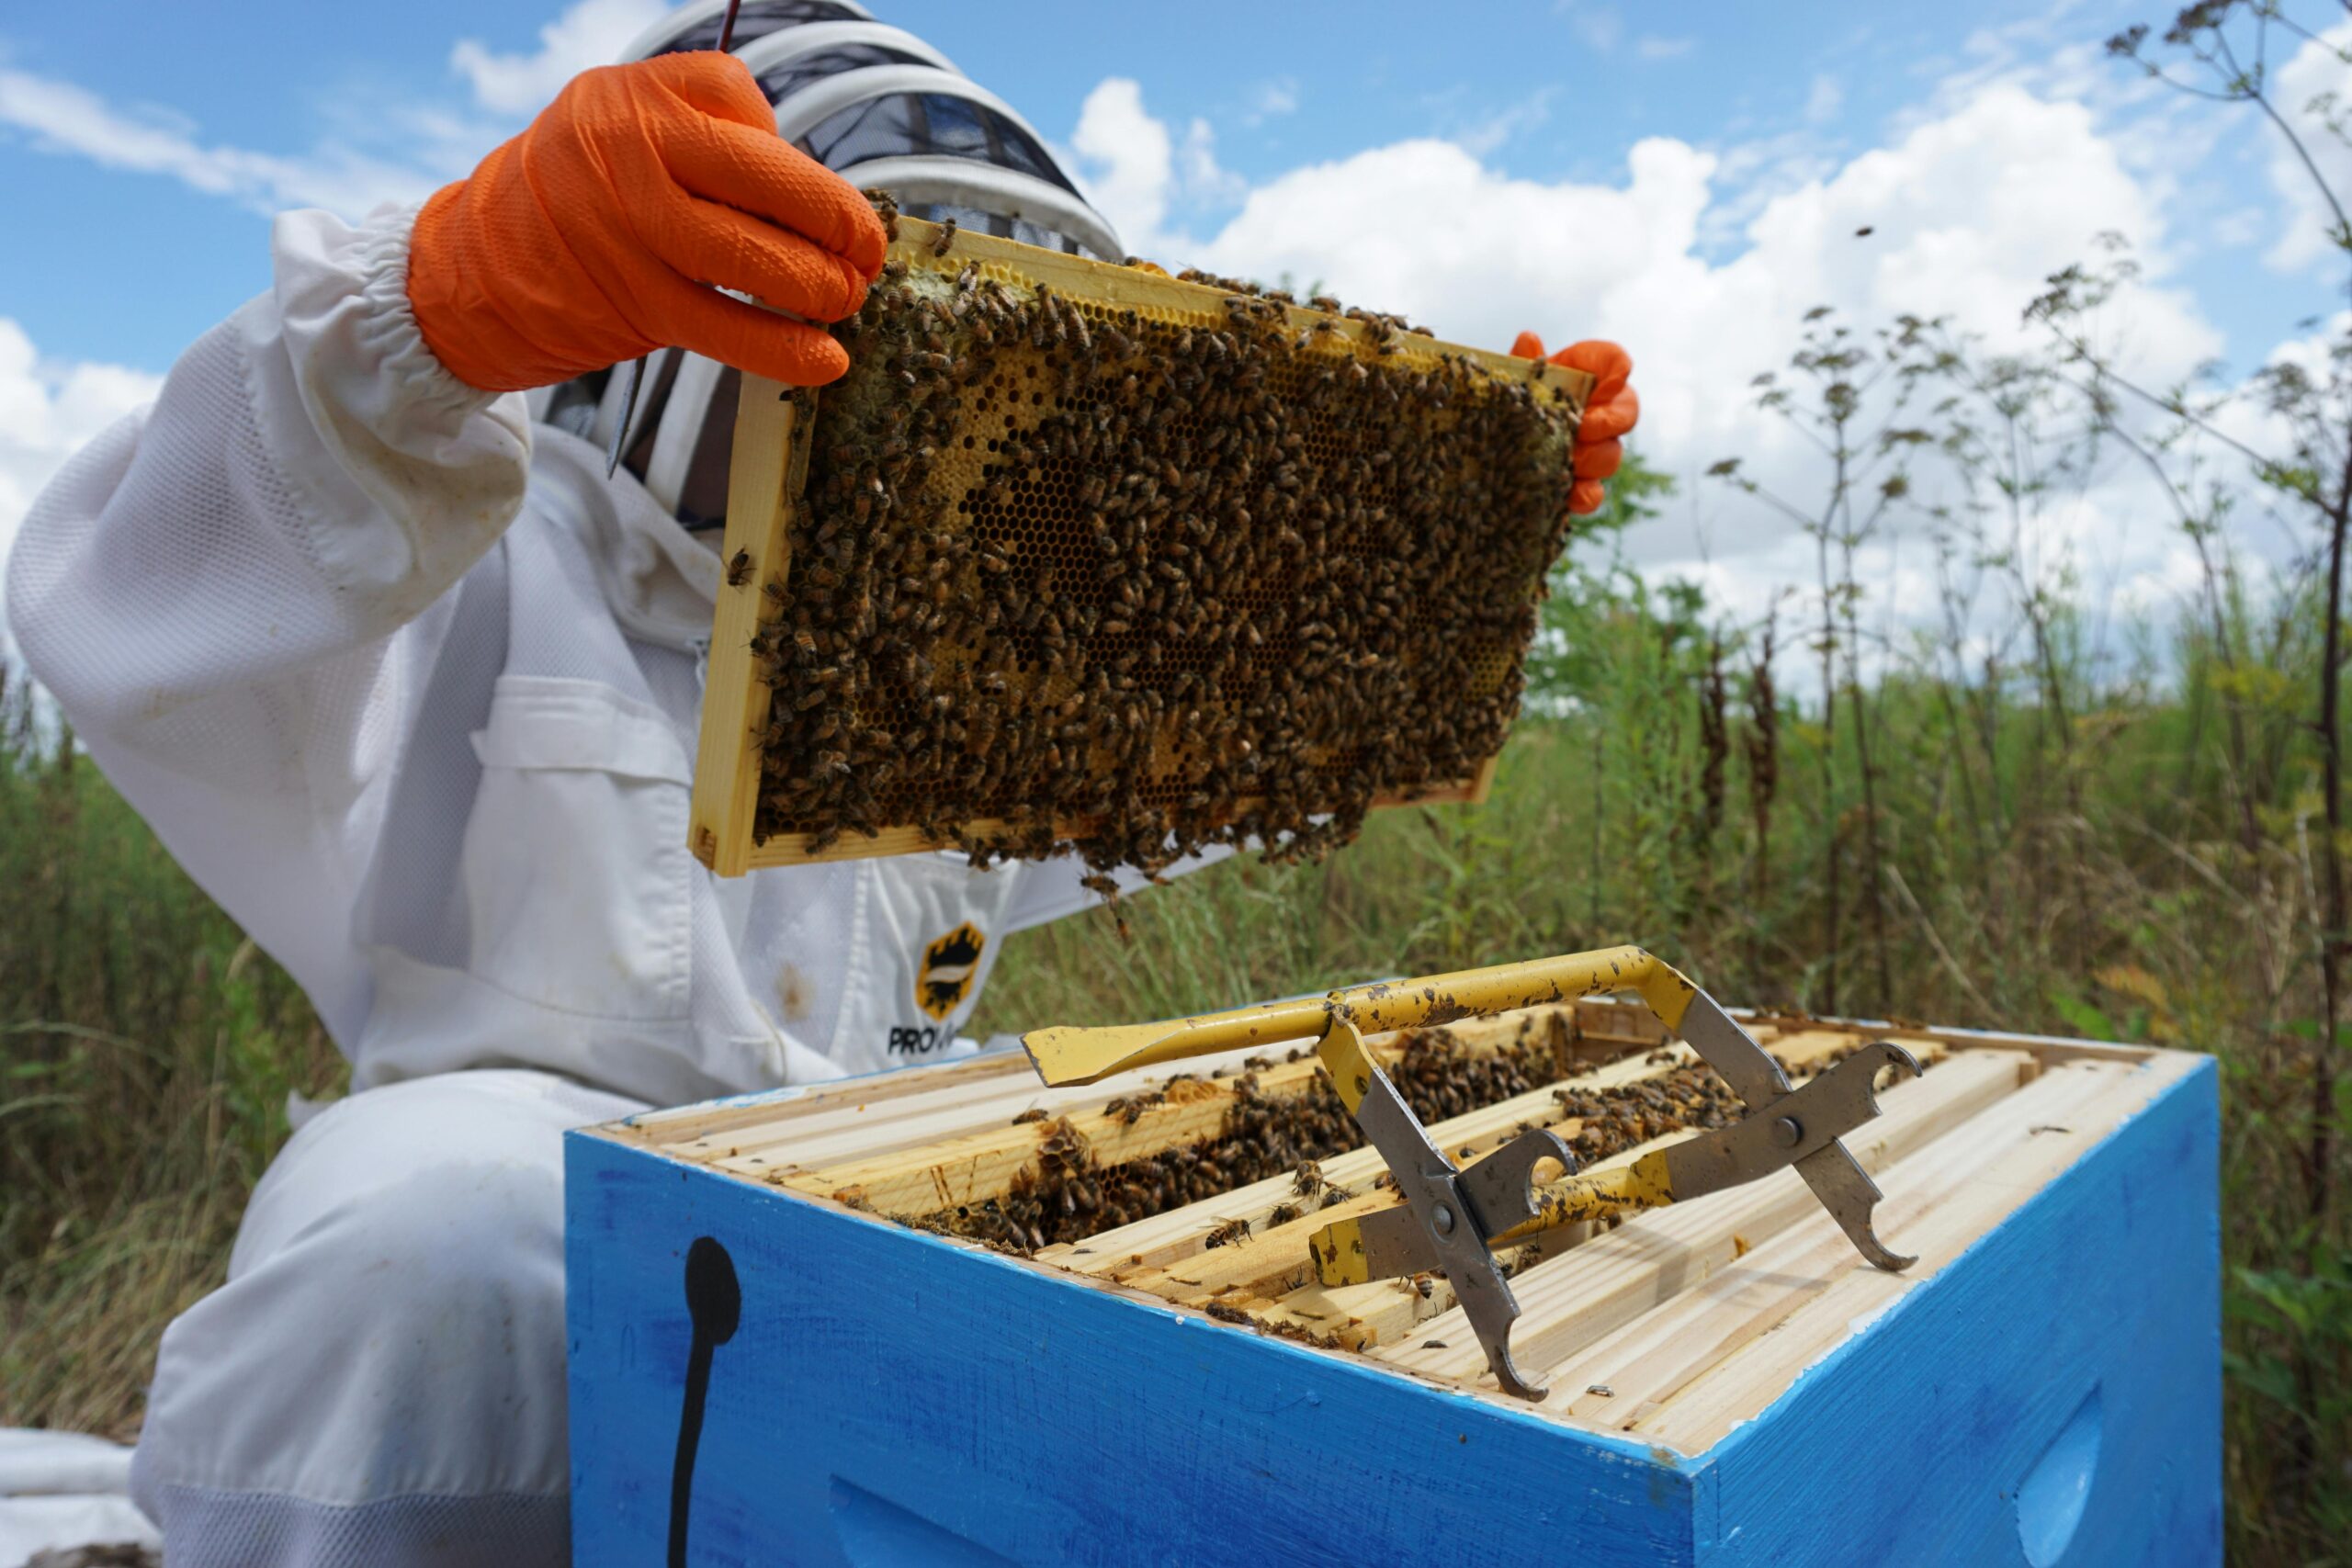
What to Look for During the Inspection
You don’t need to see the queen on every inspection, but you do want signs that she’s present and laying.
- Eggs and young larvae (signs of recent queen activity)
- Solid brood pattern (tight, even, not spotty)
- Presence of honey and pollen
- Space for the queen to lay
- Queen cells or swarm indicators
- Pests like small hive beetles or signs of mites
If you find eggs, you had a laying queen within the last 3 days. That’s usually enough.
What Not to Worry About
Don’t obsess over:
- Seeing the queen every time
- Inspecting every frame
- Hurting a few bees. It’s going to happen, but just do your best to prevent harm
Keep the inspection focused. Be methodical but efficient. Once you have established that everything looks healthy, close it up and let them get back to work.
How Long Should It Take?
A standard inspection should take about 10-15 minutes, and can be as short as a minute once you know what you are looking for. If you’re working multiple hives, you’ll get faster with time. Avoid dragging it out. Prolonged inspections raise stress levels and affect the temperature inside the hive.
Final Thoughts
You don’t need to overthink inspections. Just get in, get the answers you need, and get out. A calm, focused inspection routine will do more for your bees than any fancy tool or checklist.
And remember: the more inspections you do, the better you’ll get at reading your bees and the easier it will be to spot something that doesn’t look right.
Related Posts
- Top 10 Things to Consider Before Getting Into Beekeeping
- Beekeeping Gear Checklist
- How Much Does Beekeeping Really Cost?
- Installing Your Package or Nuc (coming soon)